This guide provides essential steps and safety tips for lighting and maintaining your Heat & Glo pilot light, ensuring optimal functionality and performance of your fireplace․
1․1 Overview of Heat & Glo Fireplaces
Heat & Glo fireplaces are renowned for their innovative design, energy efficiency, and realistic flame presentation․ They offer a wide range of models, from traditional to modern styles, catering to various home decors․ These fireplaces are built with advanced technology, ensuring safety and optimal performance․ Known for their durability and ease of use, Heat & Glo fireplaces provide a cozy and reliable heating solution for homeowners seeking both functionality and aesthetic appeal․
1․2 Importance of Proper Pilot Light Maintenance
Proper pilot light maintenance is crucial for ensuring the safe and efficient operation of your Heat & Glo fireplace․ A well-maintained pilot light prevents gas leaks, avoids carbon monoxide hazards, and ensures reliable ignition of the main burner․ Regular cleaning and inspections help maintain the pilot’s functionality, preventing common issues like failure to ignite or inconsistent flames․ This upkeep also extends the lifespan of your fireplace and ensures optimal performance during colder months․
Safety Precautions Before Lighting the Pilot
Ensure proper ventilation to prevent gas buildup․ Check gas lines for leaks and know emergency shut-off procedures․ Keep the area clear of open flames and flammable materials․ Follow manufacturer instructions and be cautious of gas odors․ Use appropriate tools and have a fire extinguisher nearby․ Monitor the pilot after lighting and consult a professional if unsure․ Always prioritize safety to avoid hazards․
2․1 Ensuring Proper Ventilation
Before lighting the pilot, ensure the room is well-ventilated to prevent gas buildup․ Open windows or doors to allow fresh air circulation․ Check that vents and chimneys are unobstructed․ Never light the pilot in an enclosed space without proper airflow․ Additionally, ensure carbon monoxide detectors are installed and functioning to monitor air quality․ Proper ventilation helps prevent hazardous conditions and ensures safe operation of your Heat & Glo fireplace․
2․2 Checking Gas Supply Lines
Before lighting the pilot, inspect the gas supply lines for leaks or damage․ Ensure the gas valve is fully open and functioning correctly․ Check for any blockages or kinks in the lines that could restrict gas flow․ If you suspect a gas leak, turn off the supply immediately and consult a professional․ Proper gas supply is crucial for safe and efficient pilot ignition․ Always test gas pressure if unsure․
2․3 Understanding Emergency Shut-Off Procedures
Familiarize yourself with the emergency shut-off procedure to ensure safety․ Locate the emergency shut-off valve, typically near the gas supply line․ In case of a gas leak, smell of gas, or system malfunction, turn the valve clockwise to shut off the gas supply immediately․ Do not attempt repairs yourself; contact a certified technician․ Always prioritize safety and follow manufacturer guidelines for emergency situations to prevent accidents and ensure proper system function․
Step-by-Step Pilot Lighting Instructions
Turn the gas valve to the pilot position, press and hold the knob, then ignite the pilot using the piezo igniter․ Release the knob once lit․
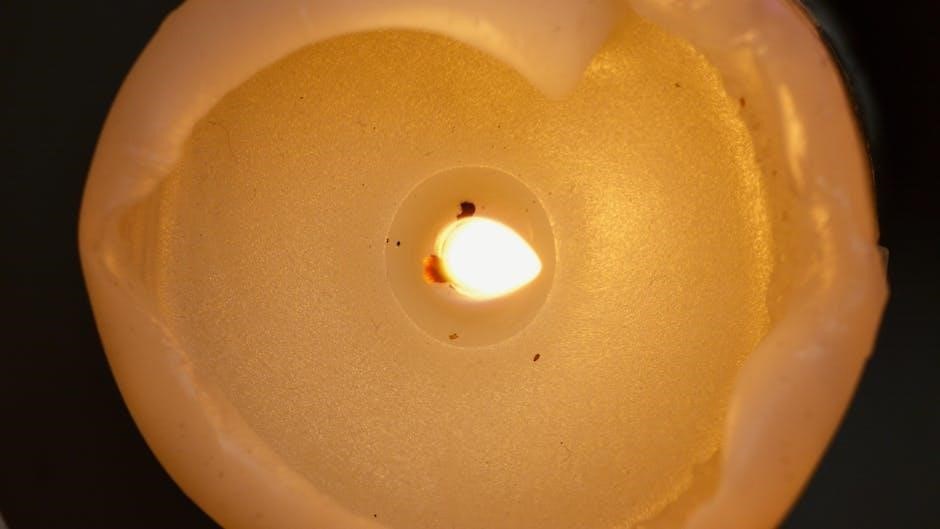
3․1 Locating the Pilot Light Assembly
The pilot light assembly is typically located near the base of your Heat & Glo fireplace, often accessible by removing the front panel or logs․ It is usually marked with a small “PILOT” label and may be hidden behind decorative elements․ If you cannot locate it, consult your product manual or contact a professional for assistance․ Always ensure safety when accessing internal components;
3․2 Preparing the Gas Valve
To prepare the gas valve, ensure it is in the correct position for pilot lighting․ Turn the valve knob to the “PILOT” setting and press it down gently to release gas flow․ Hold the knob in this position while lighting the pilot․ Always follow the manufacturer’s instructions and ensure the valve is functioning properly before proceeding with ignition․ Safety is paramount when handling gas components․
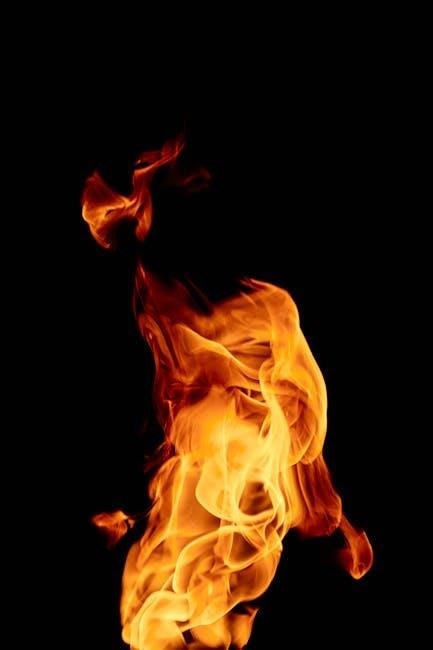
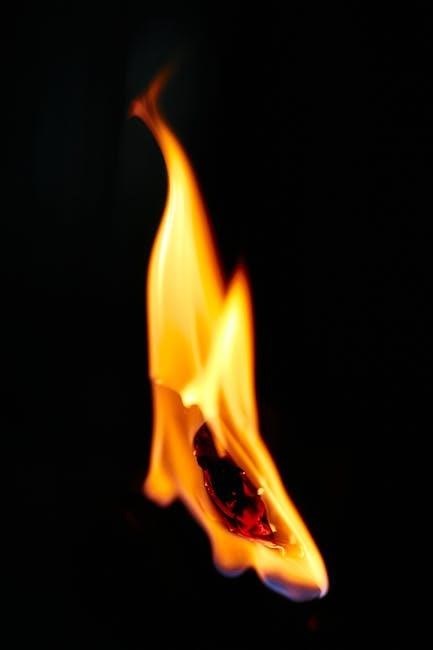
3․3 Igniting the Pilot Light
With the gas valve in the “PILOT” position, press and hold the valve knob to release gas․ Use the red piezo igniter button to spark the pilot light․ Hold the knob until the pilot flame appears and remains steady․ Ensure the flame is strong and consistent before releasing the knob․ Always follow manufacturer guidelines for safe ignition, and verify proper ventilation during this process․
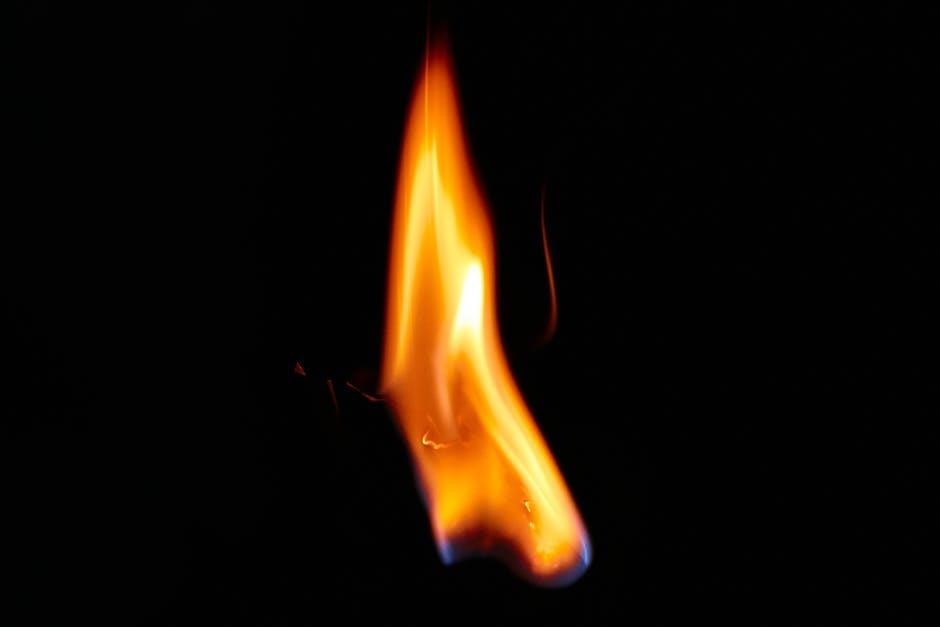
3․4 Adjusting the Pilot Flame
After igniting the pilot light, adjust the pilot flame by locating the adjustment screw near the gas valve․ Turn the screw clockwise to decrease the flame height or counterclockwise to increase it․ Ensure the flame is steady and blue․ If the flame appears yellow or inconsistent, turn off the pilot and clean the pilot orifice with a small brush or compressed air for optimal performance․ Always ensure proper ventilation during adjustments․
Common Issues with Heat & Glo Pilot Lights
Common issues include ignition failures, inconsistent flames, and the pilot not staying lit․ These problems often relate to faulty components like the thermocouple or clogged gas lines․
4․1 Pilot Light Fails to Ignite
If the pilot light fails to ignite, check for clogged gas orifices, a faulty spark igniter, or a closed gas valve․ Ensure proper ventilation and verify gas supply lines are unobstructed․ Clean the pilot assembly and inspect the thermocouple for damage․ If issues persist, consult a professional to diagnose and repair faulty components or wiring․ Always follow safety guidelines when troubleshooting ignition problems․
4․2 Pilot Light Does Not Stay Lit
If the pilot light ignites but doesn’t stay lit, check the thermocouple or thermopile for damage or carbon buildup․ Ensure the pilot flame is properly adjusted and the gas valve is fully open․ Inspect for air leaks or blockages in the venting system․ Clean or replace faulty components and verify the gas pressure is within the recommended range․ Persistent issues may require professional servicing to ensure safe and reliable operation․
4․3 Burner Does Not Ignite After Pilot is Lit
If the burner fails to ignite despite a lit pilot, inspect the spark igniter or electronic ignition system․ Ensure the gas valve is in the “on” position and the burner orifice is clear of debris․ Check for proper gas flow and pressure․ If issues persist, verify the thermocouple or thermopile is functioning correctly or consider resetting the system․ Professional assistance may be needed to address internal component malfunctions or wiring issues․
Troubleshooting the Pilot Light System
Identify issues with the pilot light system by checking components like the thermocouple and gas lines for blockages․ Ensure proper gas flow, pressure, and ignition performance․
5․1 Checking the Thermocouple or Thermopile
Ensure the thermocouple or thermopile is clean and functioning properly․ Use fine sandpaper to remove carbon buildup․ Test the millivolt output with a multimeter (500-550mV for proper operation)․ If faulty, replace the component․ This step is crucial for maintaining a steady pilot flame and ensuring the gas valve operates correctly․ Always refer to the manufacturer’s instructions for specific testing procedures․ If unsure, consult a professional to avoid safety risks․
5․2 Inspecting for Clogged Gas Orifices
Clogged gas orifices can prevent the pilot light from igniting or staying lit․ Turn off the gas supply and remove the burner assembly․ Inspect the small holes in the gas orifices for dirt or debris․ Clean gently with a small brush or compressed air․ If blockages persist, consult a professional for further assistance․ Ensuring clear gas flow is essential for proper pilot light operation and overall fireplace performance․
5․3 Testing Gas Pressure and Flow
To ensure proper pilot light operation, test the gas pressure and flow․ Use a manometer to measure pressure at the gas valve, ensuring it matches manufacturer specifications․ Check for clogs or kinks in gas lines, which can restrict flow․ If low pressure or flow issues are detected, inspect the regulator or lines for blockages or damage․ Consulting a professional may be necessary for complex adjustments or repairs to restore optimal gas supply and functionality․
Advanced Troubleshooting Steps
Identify faulty components, clean or replace the pilot assembly, and reset the remote or wall switch to address complex issues affecting pilot light performance․
6․1 Identifying Faulty Components
Inspect the pilot assembly, thermocouple, or thermopile for damage or corrosion․ Use a multimeter to test the thermopile’s millivoltage output, ensuring it reads between 500-550mV with the pilot lit․ Check the gas valve for proper function and ensure no leaks․ If issues persist after basic troubleshooting, faulty components may need replacement․ Consult the Heat & Glo Owner Support Center for guidance or professional assistance․
6․2 Cleaning or Replacing the Pilot Assembly
Turn off the gas supply and let the assembly cool․ Remove the pilot orifice and clean it with a small brush or compressed air to clear debris; Inspect for blockages or corrosion․ If cleaning doesn’t resolve the issue, replace the pilot assembly․ Always use genuine Heat & Glo parts to ensure compatibility and safety․ Refer to the product manual for detailed disassembly and installation instructions․
6․3 Resetting the Remote Control or Wall Switch
Turn off the fireplace and unplug the power supply for 30 minutes․ This resets the remote or wall switch․ Reprogram the remote by following the manufacturer’s instructions․ Test the system to ensure proper function․ If issues persist, check wiring connections or replace faulty components․ Refer to the Heat & Glo troubleshooting guide for specific reset procedures and ensure all safety precautions are followed during the process․

Maintenance Tips for Optimal Performance
Regularly clean the burner and pilot assembly to ensure proper gas flow․ Inspect the venting system for blockages and damage․ Schedule annual professional inspections to maintain efficiency and safety․
7․1 Regular Cleaning of the Burner and Pilot
Clean the burner and pilot assembly regularly to remove soot, debris, and carbon buildup․ Use a soft brush or vacuum to gently sweep away dust and dirt․ For tougher residue, lightly scrub with fine sandpaper or a cleaning solution recommended by Heat & Glo․ Ensure all orifices are clear to maintain proper gas flow and ignition․
7․2 Inspecting the Venting System
Regularly inspect the venting system to ensure proper airflow and safe operation․ Check for blockages, such as soot, debris, or animal nests, and inspect for damage or gaps in the vent pipes․ Ensure all connections are secure and vent caps are clear․ Annual professional inspections are recommended to maintain efficiency and safety, especially for complex venting configurations or direct vent systems․
7․3 Scheduling Annual Professional Inspections
Annual professional inspections are crucial for ensuring your Heat & Glo fireplace operates safely and efficiently․ A certified technician will check the burner, pilot assembly, and venting system for damage or blockages․ They will also verify proper gas flow and ignition performance․ Regular inspections help prevent potential issues, ensure compliance with safety standards, and maintain optimal performance throughout the heating season․
When to Call a Professional
Contact a professional if issues persist after troubleshooting, especially for complex problems like faulty gas valves, electrical malfunctions, or venting system damage․
8․1 Persistent Issues After Troubleshooting
If your Heat & Glo pilot light continues to malfunction despite troubleshooting, it may indicate deeper issues requiring professional expertise․ Persistent problems like recurring ignition failures or gas leaks can signal faulty internal components or system-wide issues; A certified technician can diagnose and repair complex problems, ensuring safety and restoring functionality to your fireplace․
8․2 Suspecting a Faulty Gas Valve
If your Heat & Glo pilot light fails to ignite or the burner shuts off after lighting, the gas valve may be faulty․ This is often indicated by the pilot flame going out when the switch is activated․ Inspect the valve for proper function and consider testing its electrical connections or millivoltage output․ If issues persist, replacing the gas valve or consulting a professional technician is recommended to ensure safe and reliable operation․
8․3 Addressing Complex Electrical or Gas Line Problems
Complex electrical or gas line issues with your Heat & Glo fireplace require professional expertise․ If you suspect problems such as faulty wiring, gas leaks, or improper pressure, contact a certified technician․ They can diagnose and repair issues safely, ensuring compliance with safety standards and maintaining your fireplace’s efficiency and performance․ Always prioritize professional assistance for such intricate systems to avoid hazards and ensure reliability․

Additional Resources for Heat & Glo Owners
Access the Heat & Glo Owner Support Center for manuals, troubleshooting guides, and customer service․ Visit authorized dealers for parts and professional assistance, ensuring optimal fireplace performance․
9․1 Accessing the Heat & Glo Owner Support Center
The Heat & Glo Owner Support Center offers comprehensive resources, including product manuals, troubleshooting guides, and customer service․ Visit their official website to register your product, find FAQs, and connect with authorized dealers for assistance․ This platform ensures you have all the tools needed to maintain and repair your fireplace effectively․

9․2 Downloading the Product Manual
Visit the Heat & Glo official website to download your product manual․ Navigate to the support section, select your specific fireplace model, and access the PDF guide; This manual provides detailed instructions for pilot lighting, troubleshooting, and maintenance․ Refer to it regularly to ensure your fireplace operates safely and efficiently․ Downloading the manual is a quick and easy way to have all necessary information at your fingertips․
9․3 Finding Authorized Dealers and Service Technicians
To locate authorized Heat & Glo dealers and technicians, visit the official website․ Use the “Dealer Locator” tool to find certified professionals in your area․ Ensure your fireplace is serviced by qualified experts for reliable repairs and maintenance․ This guarantees compliance with safety standards and manufacturer warranties, providing peace of mind for optimal performance and longevity of your Heat & Glo fireplace․